Fissures dans les socles en granit (plateformes) destinés aux semi-conducteurs / équipements de précision : le principe fondamental consiste à traiter d’abord la fissure, puis à renforcer la structure, et enfin à procéder à un repositionnement et à un étalonnage de précision ; l’utilisation de colle à marbre / de ciment ordinaire est strictement interdite. Il est impératif d’utiliser une résine époxy spécialisée à faible retrait, haute densité et antistatique, et l’ensemble du processus doit être réalisé dans un environnement à température constante et exempt de poussière.
I. Commencez par déterminer le type (pour choisir la solution)
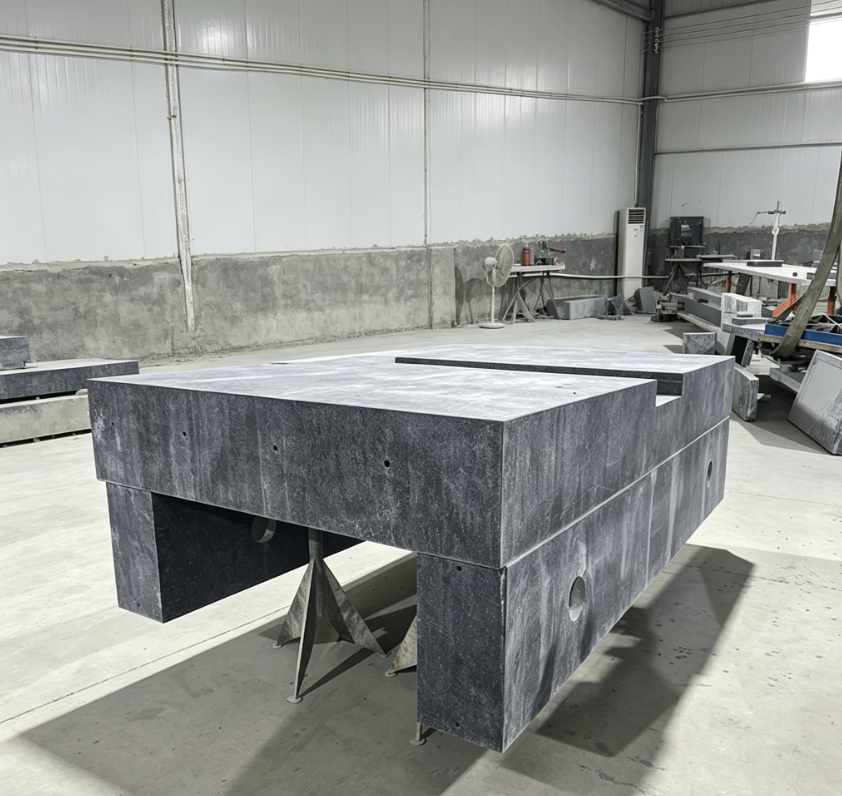
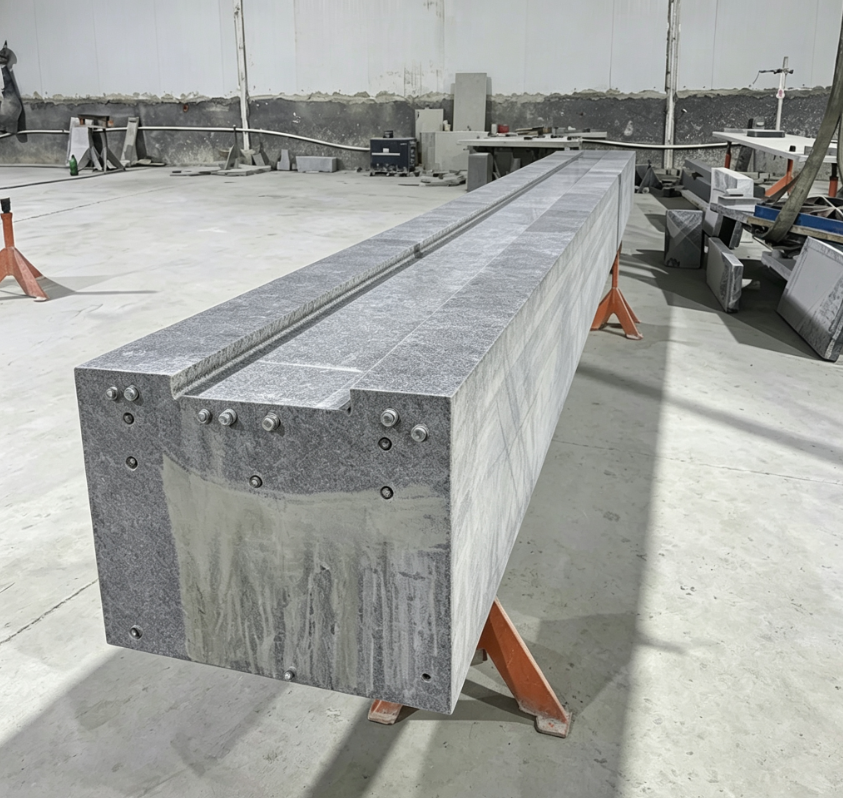
Fente fine ( 2 mm, fissure traversante / désalignement) : fissuration de la base, planéité / perpendicularité hors tolérance → démontage professionnel, collage, renforcement mécanique, réaffûtage et calibrage.
Joint (à l'interface entre deux blocs) : fissuration du joint, infiltration de lumière / de poussière → réalignement, ponçage du joint époxy structurel, nouvelle mesure de la planéité.
II. Procédure de réparation des étalons de base de précision (qualité semi-conductrice)
- Protection contre les arrêts intempestifs des machines et contrôle des conditions environnementales
Mettez l'appareil hors tension, retirez les éléments supérieurs et videz entièrement le socle ;
Environnement : 22 ± 05 °C, humidité 40%–60%, salle ISO 7 exempte de poussière, afin d'éviter toute déformation due à la température. - Nettoyage minutieux de l'interstice (Très important !, sinon un décollement se produira)
Nettoyage à sec : balayer la poussière à l'aide d'une brosse douce → souffler à fond avec de l'air comprimé à une pression comprise entre 0,4 et 0,6 MPa, sans laisser de particules résiduelles
Dégraissage : essuyez l'interstice et la zone de 20 mm de part et d'autre avec de l'acétone ou de l'éthanol anhydre, puis séchez avec un chiffon non pelucheux ;
Laisser sécher à l'air libre pendant 30 minutes ou utiliser un sèche-cheveux à air chaud (≤ 40 °C) ; la teneur en eau dans l'interstice doit être inférieure à 5%. - Prétraitement des interstices (en fonction de)
Fente très fine : aucun rainurage nécessaire, application directe de la résine époxy ;
Écart de 0,2 à 2 mm : utilisez une lame fine diamantée pour réaliser une encoche en V (largeur : 3 à 5 mm, profondeur : 3 à 5 mm), puis chanfreinez l'ouverture de l'encoche afin d'augmenter la surface de collage ;
2 mm / fissure traversante : percer des trous (M6–M8) des deux côtés, prévoir des emplacements pour des plaques de liaison en acier inoxydable en vue d'un renforcement mécanique ultérieur.
- Choisissez les matériaux adaptés (les colles ordinaires spécialisées pour semi-conducteurs sont strictement interdites)
Tableau
Type d'écart Matériau recommandé Indicateurs clés
Fissures capillaires / Micro-interstices – Époxy pénétrant à faible viscosité – Viscosité < 10 cps, retrait 80 MPa, dilatation thermique 80
Fissures structurelles — Plaques de raccordement en acier inoxydable avec revêtement époxy. Résistance de l'époxy > 3 000 PSI, plaques de raccordement en acier inoxydable 304/316L, résistantes à la rouille et non-
❌ Interdit : colle pour marbre (fort retrait, fragilité), mastic silicone (tendance à ramollir, nuit à la précision), ciment (dilatation, corrosion).- Remplissage et durcissement (à température constante, en environnement exempt de poussière)
Mélange : mélanger selon le rapport indiqué (par exemple, 2:1), remuer pendant au moins 90 secondes, sans formation de bulles ; il est possible d'ajouter une petite quantité de pigment (pour obtenir la teinte « Jinan Green ») ;
Garniture :
Micro-interstice : injecter lentement à l'aide d'une seringue jusqu'à ce que l'interstice déborde ;
Joint rainuré : appliquer à l'aide d'une spatule, en dépassant légèrement de 0,5 mm de la surface (pour compenser le retrait), en veillant à éviter la formation de bulles ;
Durcissement : laisser durcir à une température constante de 2 °C pendant 24 h pour atteindre la résistance 80%, et pendant 48 h pour un durcissement complet ; les vibrations, la pression et les variations de température sont strictement interdites pendant cette période.
- Réajustement de précision par meulage et polissage (Core ! Restauration au niveau nanométrique)
Meulage grossier : les disques de meulage diamantés (#120 → #400 → #800) meulent couche par couche afin de s'aligner sur le plan d'origine ;
Ponçage fin : disques abrasifs #1500 → #3000, planéité ≤ 2 μm/m, Ra ≤ 0,05 μm ;
Étalonnage : vérification de la planéité et de la perpendicularité à l'aide d'un interféromètre laser ; rectification de précision générale si nécessaire ;
Antistatique : vaporiser un revêtement antistatique sur la surface, puis mesurer à nouveau la résistance : 10⁶–10¹¹ Ω. - Renforcement et prévention (obligatoire en cas de fissures structurelles)
Renforcement mécanique : fixer des plaques de liaison en acier inoxydable à l'aide de boulons à haute résistance de chaque côté de la fissure afin d'empêcher l'apparition de fissures secondaires ;
Optimisation de l'isolation antivibratoire : vérifier les isolateurs antivibratoires actifs et passifs, régler le niveau et la précompression afin de réduire les contraintes dues aux vibrations ;
Contrôle quotidien : température constante de 22 ± 0,5 °C ; éviter les changements brusques de température ; vérifier régulièrement (tous les 3 à 6 mois) la précision de l'appareil.
III. Pièges courants (à éviter absolument)
Utilisation de colle pour marbre / époxy ordinaire : fort retrait, matériau cassant, sujet à des fissures secondaires, précision non garantie ;
Nettoyage incomplet : la présence d'huile ou de poussière entraîne un décollement et nécessite des retouches ;
Durcissement à température ambiante / à basse température : résistance insuffisante, déformation importante, strictement interdit pour les applications dans le domaine des semi-conducteurs ;
Remplissage sans broyage : protubérances/creux à la surface, planéité hors tolérance, blocage dû aux mouvements de l'équipement.
IV. Cas dans lesquels le retour à l'usine ou une intervention par un professionnel est obligatoire
Des fissures traversent la base, désalignement manifeste (> 0,1 mm) ;
La planéité / la perpendicularité dépasse la classe 00 (> 2 μm/m) ; ne peut pas être réparée sur place ;
le matériau de base est instable, altéré par les intempéries ou les fissures continuent de s'agrandir ;
Les socles des machines de lithographie et des équipements d'inspection haut de gamme doivent être réparés par le constructeur d'origine ou un atelier de précision.