Full-Process Flatness Assurance Solution for Marble Bases (From Rough Blank to Long-term Use)
Marble flatness is divided into two stages: factory grinding and processing flatness (00/0/1 grade standards), and long-term flatness maintained after installation and use. The processes and control methods for the two are completely separate, as detailed below by process.
I. Material Selection Stage: Eliminating inherent deformation at the source is the foundation of flatness
- Stone Selection
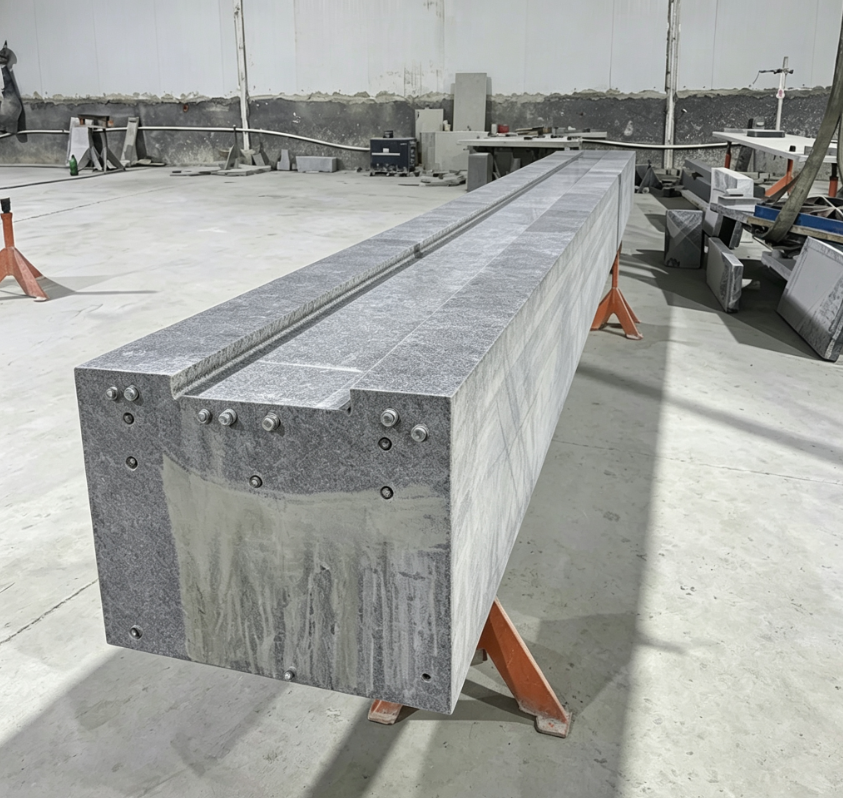
Prioritize Jinan Blue Granite, which has a dense structure, low internal stress, and uniform mineral grains;
Prohibit the use of raw blocks with cracks, inclusions, color spots, loose pores, or delamination:
Loose stone is prone to local collapse after grinding, causing repeated flatness non-compliance;
Uneven internal stress causes slow creep after processing, resulting in short-term flatness compliance but sinking and deformation 1–3 months after installation. - Rough Blank Stress Relief (Critical Pre-process)
Marble mining and cutting generate huge internal stresses, and direct grinding will inevitably lead to later deformation:
Rough-cut raw blocks into semi-finished blanks;
Natural outdoor aging ≥ 3 months, or artificial aging in a constant-temperature kiln for 7–15 days;
Secondary static aging after rough grinding to remove excess material to release cutting stresses.
Bases without aging, even if ground to 0.5μm/m, will see their flatness deteriorate directly to over 5μm/m after a few months of use.
II. Rough Processing Stage: Controlling removal amount to avoid stress-release warping
Double-sided equal-amount milling / rough grinding: The amount of material removed from the top and bottom surfaces should be as equal as possible; excessive removal on one side will cause unidirectional stress release and plate warping;
Minimum thickness specifications for thick plate bases:
600×600 platform ≥ 80mm;
1000-stroke gantry base ≥ 150mm;
Thin plates (<50mm) are extremely prone to self-weight deflection, making long-term flatness unassurable;
After all rough processing of side grooving, threaded hole installation, and weight-reduction slots is completed, enter fine grinding. Fine grinding before drilling or grooving is prohibited (local material removal will destroy the flatness).
III. Precision Grinding: Determining the final factory flatness grade (00 grade is the highest) - Grinding Tooling Reference
The machine tool’s own worktable must be a higher-grade marble plate, with a reference accuracy one grade higher than the workpiece to be processed;
The workpiece must be completely freely supported, not forcibly fixed with a clamping plate. Clamping will generate stress, and releasing it will cause spring-back warping. - Graded Grinding Process (From coarse to fine)
Rough grinding: Eliminate milling cutter marks and height differences, removing 0.3–0.8mm of excess material;
Semi-fine grinding: Eliminate rough grinding ripples, controlling flatness within 2μm/m;
Fine grinding Ultra-fine grinding: Gradually refine with diamond grinding discs, combined with wet grinding using free abrasives;
00 Grade Standard: Flatness ≤ 2μm/m, ≤ 0.5μm in any 200mm interval. - Grinding Environment Requirements
Constant-temperature workshop ±0.5℃; temperature differences will cause thermal expansion differences between the grinder and the marble workpiece, leading to grinding errors;
Dust-free workshop to prevent hard particles from scratching the plate surface and creating local pits;
The workpiece must be placed flat throughout the grinding process; side-standing or hanging processing is prohibited. - Inspection and Calibration (Mandatory for every piece)
Triple detection using an electronic level autocollimator precision level:
Grid-point measurement to record the height differences across the entire plate surface;
Diagonal and longitudinal/transverse bidirectional re-testing to correct the grinding trajectory;
Issue a flatness inspection report, mark high and low points, and categorize into the warehouse (00/0/1 grades).
IV. Protection of Threaded and Pin Holes: Avoid drilling that compromises the flatness of the mounting surface
Marble is highly brittle; tapping and drilling can easily cause edge chipping and local depressions:
All threads must be pre-embedded with stainless steel threaded inserts; do not tap directly into the marble;
Installation holes must be recessed to avoid interference, ensuring the module clamping area is a complete and continuous ground surface;
Chamfer the hole edges to eliminate stress concentration points and prevent local collapse under long-term load;
No secondary drilling or slotting after finishing.
V. Factory Packaging and Transportation: Prevent bumps, deformation, and flatness damage during transport
Apply protective film to the ground surface and wrap the entire block in foam;
Use a multi-point uniformly supported wooden frame at the bottom; single-point or single-side load lifting is prohibited;
Use soft slings for lifting; steel wire ropes must never directly contact the ground reference surface;
Vertical stacking during transport will cause the slab to bend; it must be transported horizontally flat throughout the entire process.
VI. Installation and Commissioning: The installation method determines the flatness during use
- Support Point Design (The most easily overlooked core element)
Marble is extremely heavy; improper support will cause bending deflection, directly losing flatness:
Small platforms (≤800mm): Three-point support (stable and without over-constraint);
Long XYZ gantry bases (>1000mm): Multi-point uniformly distributed support, with support points placed on the base reinforcement ribs / thickened areas;
Single-point support, two-end support, and suspended middle support are prohibited;
After supporting, re-measure the surface with a dial indicator; control the total deflection of the entire slab to ≤0.001mm. - Leveling Procedure
Pre-tighten the support feet uniformly while monitoring the leveler throughout the process;
Slowly fine-tune diagonally to avoid twisting the slab caused by lifting one side;
After leveling, let it sit for 24 hours to release support stress, then re-measure the flatness;
Use uniform damping / air-float pads at the bottom to disperse pressure and avoid local indentations. - XYZ Module Assembly Specifications
The module contact surface must be free of impurities, metal chips, and dust; a single 0.002mm particle will cause local air gaps;
Tighten bolts diagonally in steps; do not lock one side completely at once to prevent local deformation of the marble under pressure;
Do not use thick shims to forcibly correct module parallelism, as shims will cause the base to sink locally under load.
VII. Long-term Flatness Control During Operation
- Environmental Control
Maintain constant temperature within ±1°C to significantly reduce surface deformation caused by thermal expansion and contraction;
Avoid single-sided heat source baking (direct blowing of motors or lasers onto the base), as local bulging in high-temperature areas destroys flatness;
Prevent dust and coolant corrosion, as liquid seepage into capillary pores causes local expansion and surface unevenness. - Load Specifications
Keep the center of gravity of workpieces and XYZ slide tables as close to the center of the base as possible;
Prohibit long-term single-sided heavy pressure or cantilevered heavy loads, as long-term unbalanced loading causes permanent micro-creep in the marble;
Regularly clean the table surface, and do not stack heavy objects or leave them statically placed on one side for long periods. - Regular Maintenance and Re-measurement
Re-measure flatness and levelness with an electronic level every 3–6 months;
Scratches or pits on the surface can be lightly re-ground and repaired;
Strictly prohibit hard objects from impacting or hammering the reference grinding surface.
VIII. Common Causes of Flatness Failure and Corresponding Countermeasures
Flatness is qualified after machining but deteriorates after machine assembly
→ Too few support points / uneven support; re-optimize the multi-point support layout;
Large flatness fluctuations in summer heat and winter cold
→ Add a constant temperature chamber, add insulation plates to heat sources, and block heat conduction;
Local depression after six months of use
→ Threaded inserts not pre-embedded, impurities on the module contact surface, or long-term unbalanced loading;
Diagonal flatness error exceeds standard
→ Raw material not fully aged, causing warping due to internal stress release; replace with qualified aged stone.
Streamlined Summary of the Guarantee Logic
Material selection and stress relief → Rough machining with excess allowance → Constant temperature ultra-precision grinding and graded inspection → Pre-embedding of hole protection → Uniform support leveling and machine assembly → Constant temperature, balanced loading, and regular re-measurement
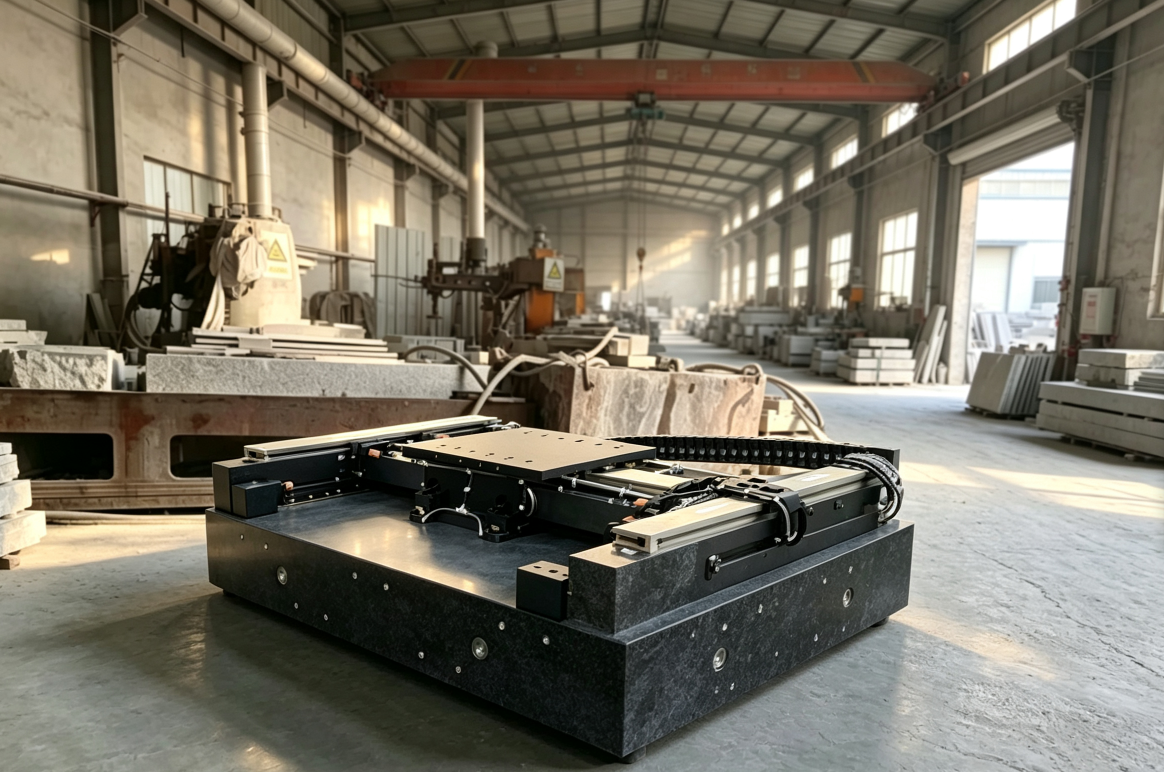
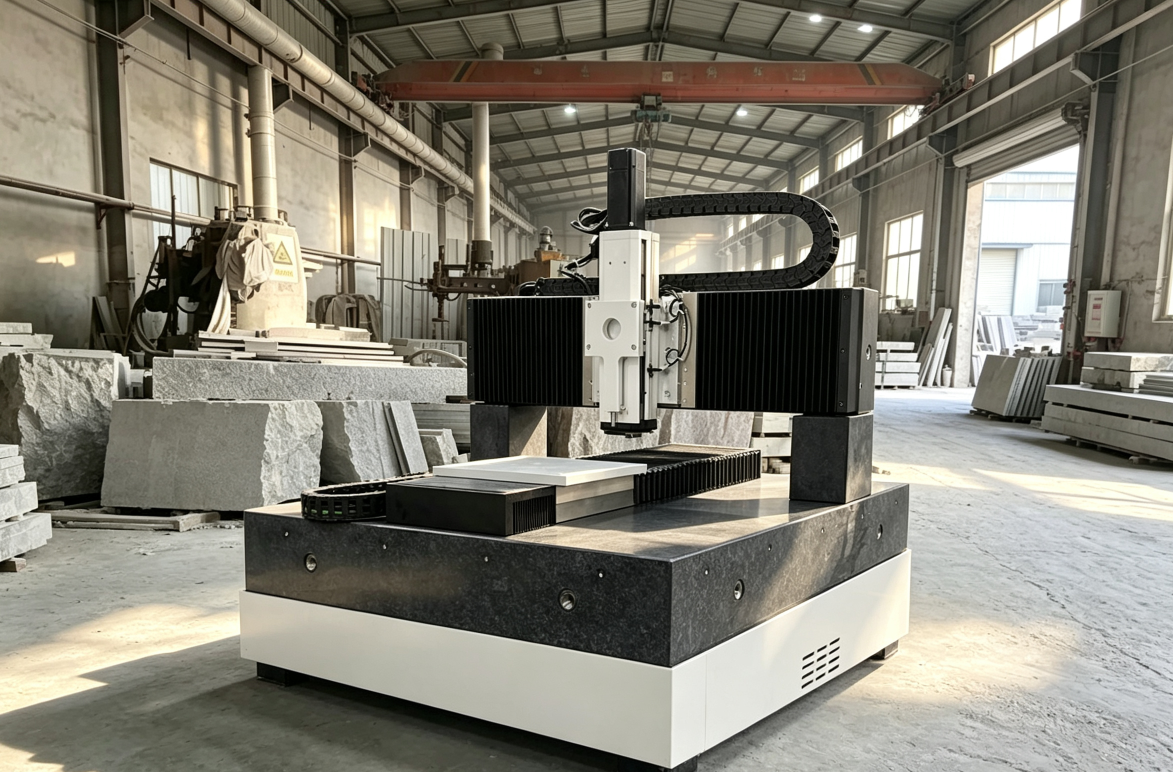
Every step in the entire chain is indispensable to simultaneously guarantee micron-level flatness at the factory and long-term stability without deformation for years, matching the high-precision motion requirements of XYZ three-axis modules.