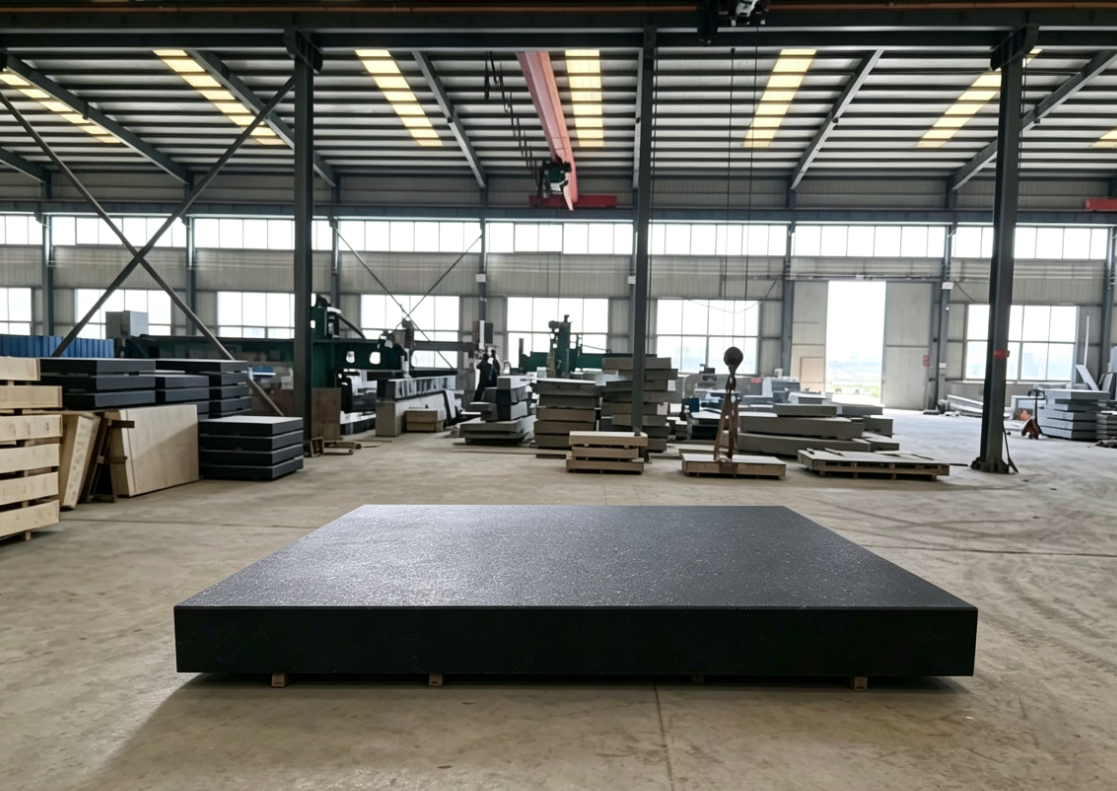
Complete Solution for Stress Issues in Granite Structural Components of High-Precision Machine Tools
Granite stress sources are divided into four categories: original geological stress from the mine, sawing/CNC machining stress, shrinkage stress from adhesive used for embedded threaded inserts, and grinding thermal stress. Stress does not disappear; it can only be fully released and balanced. If not properly handled, components may pass factory inspection but experience warping, flatness, or perpendicularity deviations after weeks or months of installation.
Core Principle: All processes that generate stress (sawing, slotting, drilling, inserting threaded nuts) must be completed before finishing; finishing should only remove a minimal amount of material and must not introduce large stresses.
I. Raw Materials: Reducing Original Stress at the Source
- Prioritize using raw blocks that have already been rested in the mine, avoiding direct processing of freshly mined stone; high-end components can undergo ultrasonic testing to inspect for internal hidden cracks and stress concentration zones.
- Leave a 3-5mm machining allowance on each side of the blank; do not use blanks with small allowances to reduce subsequent cutting impact.
- Avoid interlayers, dense quartz veins, and loose mineral zones, as stress distribution in these areas is uneven.
II. Rough Machining Stage: Controlling Machining Stress Introduced by Cutting
Cutting (sawing, milling weight-reduction slots, drilling) is the main source of machining stress.
- All weight-reduction cavities, slots, pre-drilled holes, and countersinks must be completed uniformly during the rough machining stage; supplementary processing after fine grinding is strictly prohibited.
- Use water-cooled diamond tools for machining; dry cutting and dry drilling are strictly forbidden. Dry machining generates local high temperatures, causing thermal micro-cracks and residual stress inside the stone.
- Use layered cutting for CNC milling to reduce the cutting depth per pass and minimize impact; reduce the feed rate at corners to decrease corner stress concentration, and internal corners must have a radius of R≥5mm.
- Use soft pads for clamping and support; rigid, high-force clamping is prohibited. Clamping force should only ensure positioning and must not compress the stone to avoid introducing clamping residual stress.
- After rough machining, do not proceed directly to fine grinding; an aging process must be executed to release cutting stress.
III. Aging Stress Relief: Releasing Residual Stress from Rough Machining (The Most Critical Step)
Sequence: Material cutting → Rough machining (slotting, weight-reduction slotting, drilling) → Aging → Rough grinding → Embedding threaded inserts → Curing → Semi-fine grinding – Fine grinding
❌ Incorrect sequence: Rough machining – Direct fine grinding – Then aging, which is completely ineffective.
Solution 1: Natural Constant-Temperature Aging (Preferred for Class 00 / Class 000 Ultra-Precision Machine Tool Components)
Place the workpiece flat in a constant-temperature workshop at 20±1°C, using multi-point flexible supports to simulate the installation state;
Flip the workpiece front and back every 7 days to eliminate single-side self-weight creep, and let it rest for more than 2-4 weeks; for ultra-large beds and beams, 4-8 weeks are recommended.
Advantages: Stress release is stable and will not cause new damage; Disadvantages: Long cycle time.
Solution 2: Artificial Cold-Hot Cycle Composite Aging (For Batch Orders and Tight Delivery Schedules)
Process parameters:
- Heat to 70-80°C and hold for 20-24h;
- Slowly cool down to -10°C ~ -15°C and hold for 4-6h;
- Slowly return to 20°C and let it rest at a constant temperature for more than 72h.
⚠️ Critical Control Point: Heating and cooling rates must be ≤5°C/h; rapid heating and cooling are strictly prohibited, otherwise new micro-cracks and new stresses will be generated.
Note: For Class 000 products, **artificial aging is recommended
IV. Bonding Stress of Embedded Threaded Sleeves (High-Failure Point, Glue Layer Shrinkage Stress)
The curing shrinkage of the epoxy glue in the threaded sleeve generates local stress around the hole, causing a slight protrusion on the working surface.
- Critical Process Sequence: Drill and embed the sleeve after rough grinding, and only perform fine grinding and matching after the glue is fully cured.
It is strictly forbidden to drill and embed the sleeve after fine grinding is completed. - Use thickened 304/316 stainless steel threaded sleeves with a wall thickness ≥2mm; thin sleeves are more prone to deformation caused by glue shrinkage.
- Control the glue layer thickness to 0.3-0.5 mm; the glue layer must not be too thick. Apply glue evenly to avoid local accumulation, as accumulated areas experience high shrinkage stress.
- Thoroughly clean dust from the hole; dust reduces bonding strength and causes uneven curing.
- Bond and cure in a constant temperature environment of 20°C, with a curing time of no less than 72 hours. Rapid curing at low temperatures followed by immediate transfer to the next process is not allowed.
- After curing, check for slight protrusions around the threaded sleeve. If protrusions exist, perform local grinding first, followed by overall grinding.
V. Grinding Process: Suppressing Grinding Thermal Stress
High-speed grinding generates frictional heat, creating thermal stress on the stone surface. If tested immediately after grinding, it will yield a false high-precision reading.
- For Grade 00 and 000 components, the grinding workshop must maintain a constant temperature of 20±1°C with a temperature fluctuation of ≤±0.5°C. Workpieces must be moved into the constant temperature room in advance to fully reach isothermal equilibrium before being placed on the grinding machine.
- Use continuous water-cooling during grinding. Control the grinding feed rate; avoid high-speed aggressive grinding with large feeds to prevent local high temperatures.
- Gradual grinding: Rough grinding – semi-fine grinding – fine grinding – manual matching. The grit size must progress step-by-step without skipping grades.
- At the end of each grinding process, remove the workpiece and let it rest in the constant temperature workshop for 4-8 hours to release surface grinding stress before proceeding to the next grinding step. Do not perform continuous, uninterrupted grinding.
- The support method must simulate the actual installation support points at the customer’s site!
Very Important: The support used during factory grinding must be completely consistent with the installation position and number of supports on the customer’s equipment base. If the factory uses full-table support, but the customer’s site uses three-point support, the self-weight of large granite components will cause deflection deformation. This is self-weight stress deformation, not processing stress, which many factories overlook.
VI. Joint Stress Control for Bonded Components (Large-Scale Machine Beds / Beams)
When a single block of raw material is insufficient and requires joining:
- Perform precision grinding on the joint surfaces first to ensure a perfect fit; use a low-shrinkage epoxy structural adhesive specifically designed for granite.
- Control the glue layer to be thin and even, with a thickness of 0.1-0.2 mm; the thicker the glue layer, the greater the subsequent shrinkage stress.
- After bonding, apply pressure and cure in a constant temperature environment for 24-48 hours; perform overall grinding and machining only after curing is complete. Do not complete all fine machining before bonding.
- For Grade 000 ultra-precision machine tools, avoid using joint structures whenever possible; the maximum recommended grade for jointed components is Grade 00.
VII. Constant Temperature Resting to Release Residual Stress Before Final Inspection
After all grinding and re-grinding processes are completed:
- Thoroughly clean the workpiece to remove grinding micro-powder;
- Place the workpiece according to the customer’s actual support method and let it rest at a constant temperature of 20±1℃ for 24-72h;
- Perform final inspection of flatness, parallelism, and perpendicularity only after the resting period is complete; data measured immediately after grinding is invalid.
VIII. Avoiding the Introduction of New Stress During Packaging, Transportation, and Customer Installation
- Inside the wooden packaging crate, continue to use the same support points as used during machine assembly; do not use random shims, and do not lay it completely flat on a plane.
- During on-site installation by the customer, strictly follow the manufacturer’s specified support points; tighten bolts with flexible pressure, and rigidly locking and squeezing the granite is strictly prohibited; add cushioning gaskets between the stone and metal to avoid assembly stress.