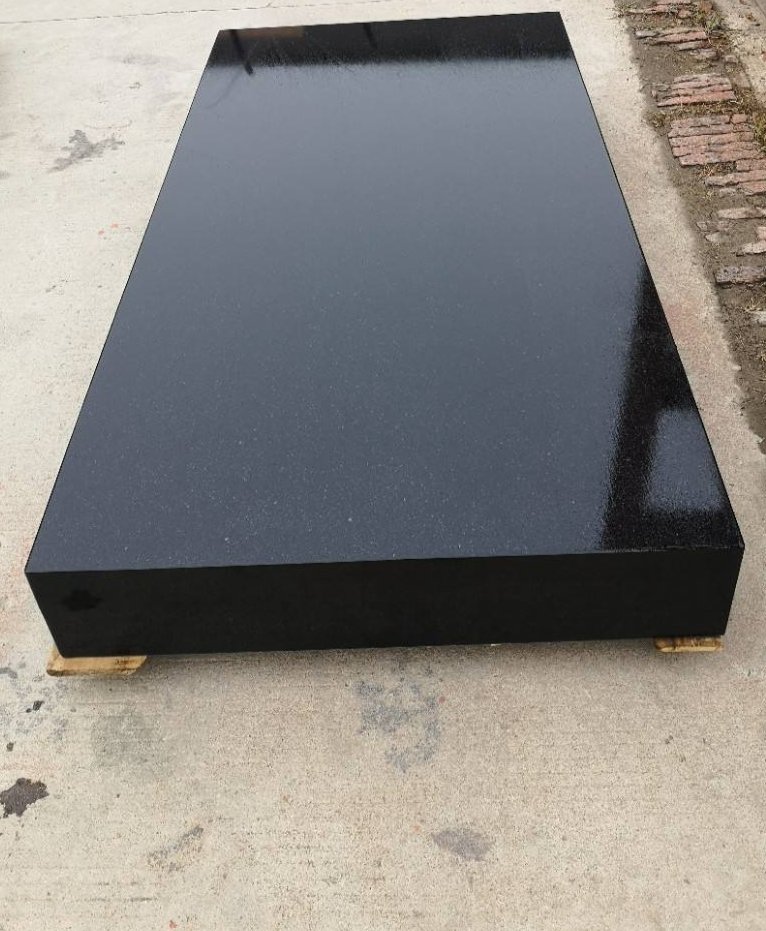
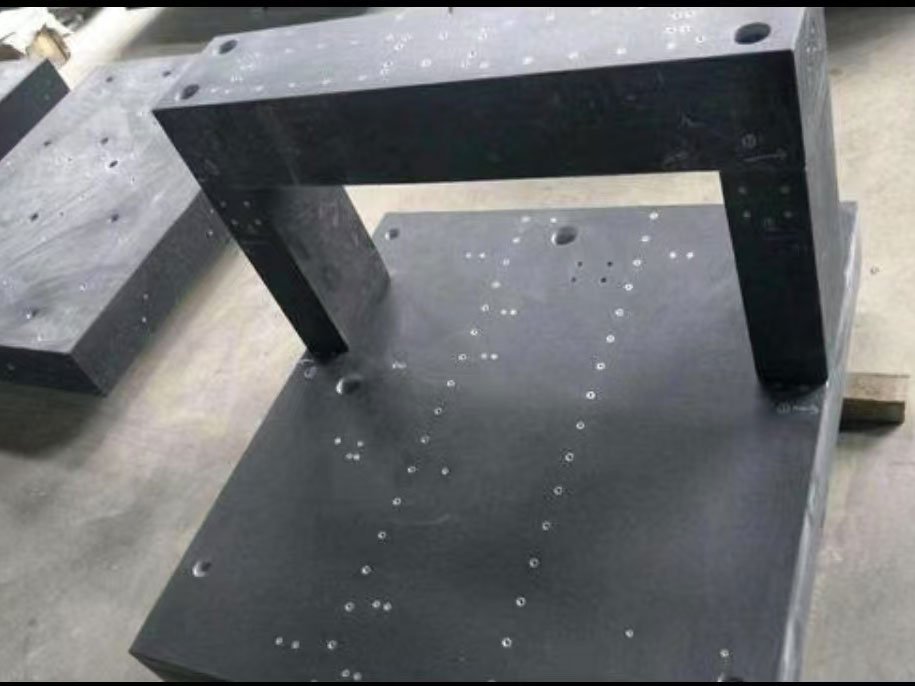
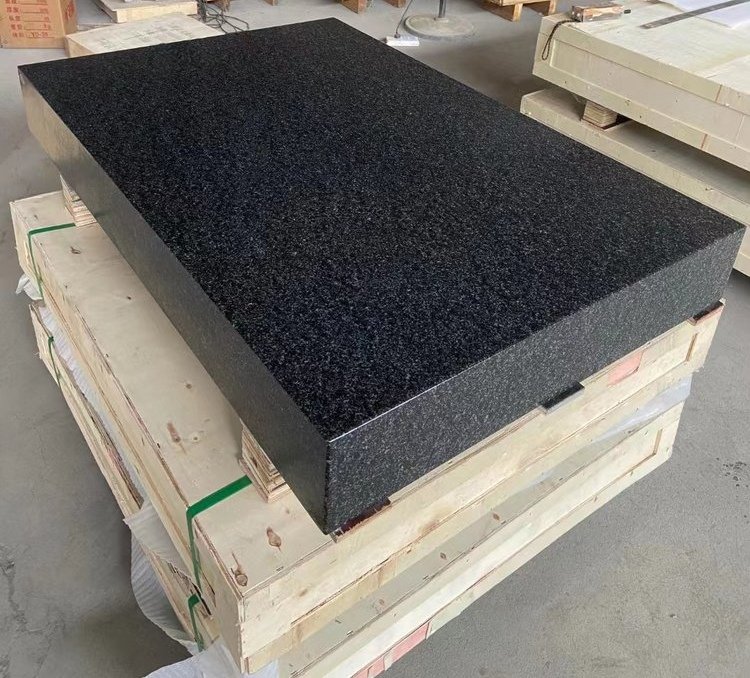
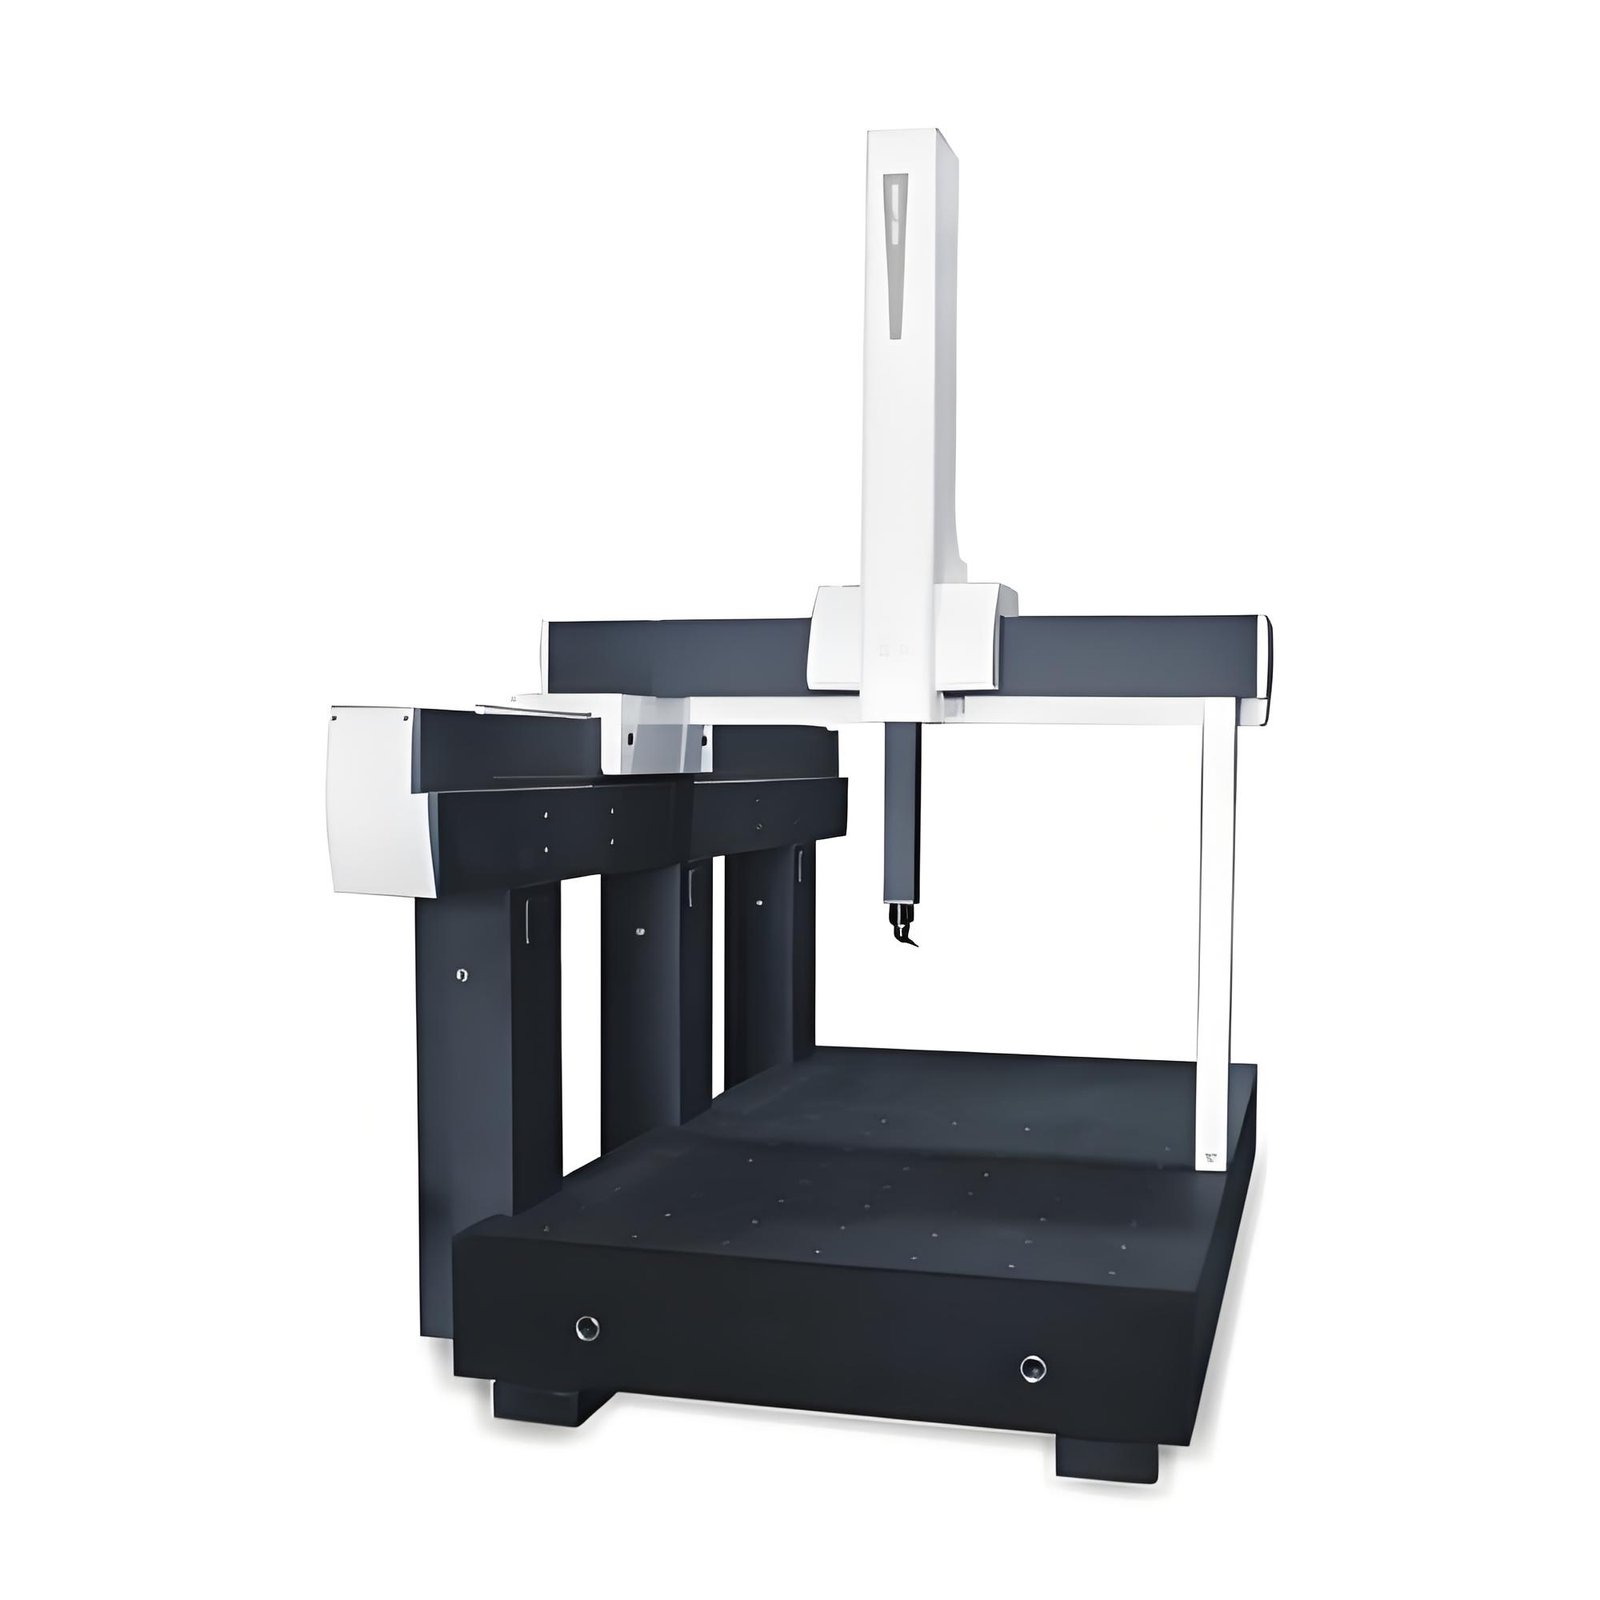
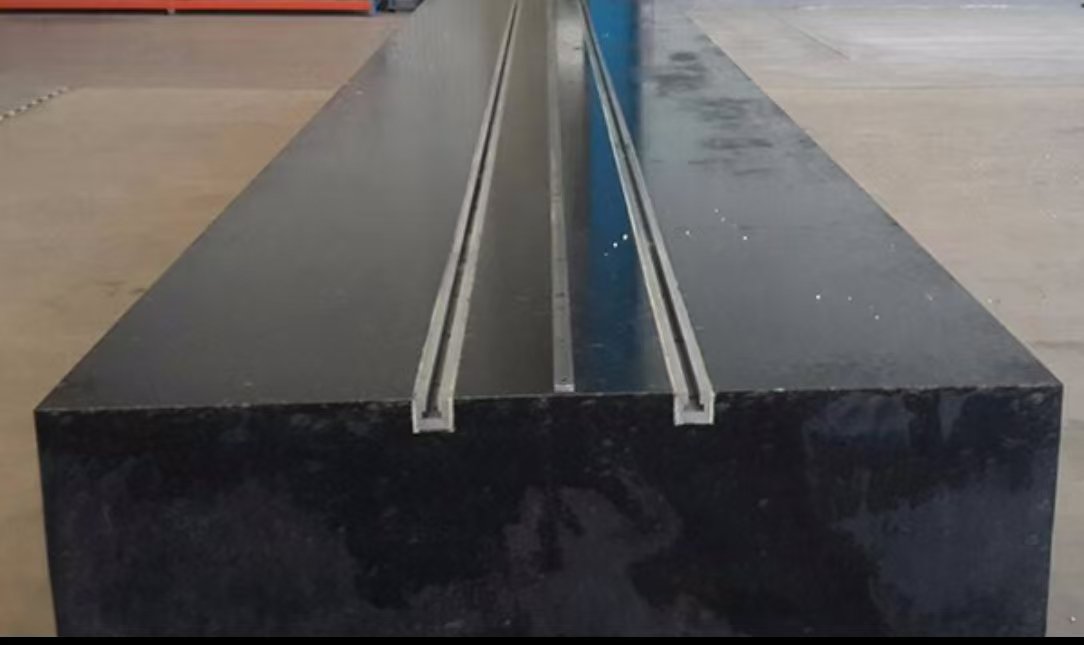
The material properties of granite measuring tools are as follows:
High hardness and wear resistance
The main mineral components of granite are quartz, feldspar, and a small amount of biotite, with a Mohs hardness of 6.5 or above and a Shore hardness (HS) of over 70. Its wear resistance is 5 times that of cast iron material, and the flatness error of the surface can be controlled within 1.5 μ m/1000mm after grinding, making it suitable for long-term use in heavy load environments.
Excellent thermal stability
The coefficient of linear expansion is extremely small (about 4.6 × 10 ⁻⁶/℃), comparable to indium steel, and is minimally affected by temperature fluctuations. Under normal temperature difference conditions (such as ± 2 ℃/24h), the deformation can be ignored to ensure stable measurement accuracy.
Corrosion resistance and weather resistance
Chemical stability, acid and alkali corrosion resistance, no rust, no need for oil maintenance. In harsh environments such as chemical workshops, it can still maintain a smooth surface and measurement accuracy, with a service life far exceeding that of metal measuring tools.
Diamagnetism and electrical insulation
As a non-metallic material, granite has no magnetization reaction, which can avoid the common magnetic interference problem of metal measuring tools. Simultaneously possessing electrical insulation properties, suitable for scenarios such as electronic component testing that require isolation of electromagnetic fields.
Uniform structure and long-term stability
After billions of years of natural aging treatment, the internal residual stress has completely disappeared, and the organizational structure is dense and uniform. The compressive strength reaches 245-280MPa, the bending strength is 35MPa, and it does not deform after long-term use, with excellent accuracy retention.
Low water absorption and easy maintenance
The water absorption rate is only 0.13%, making it difficult to adhere to dust or liquids, and easy to clean. Surface scratches or minor bumps (such as falling debris) do not affect the overall flatness and have low maintenance costs.
Processing accuracy and surface quality
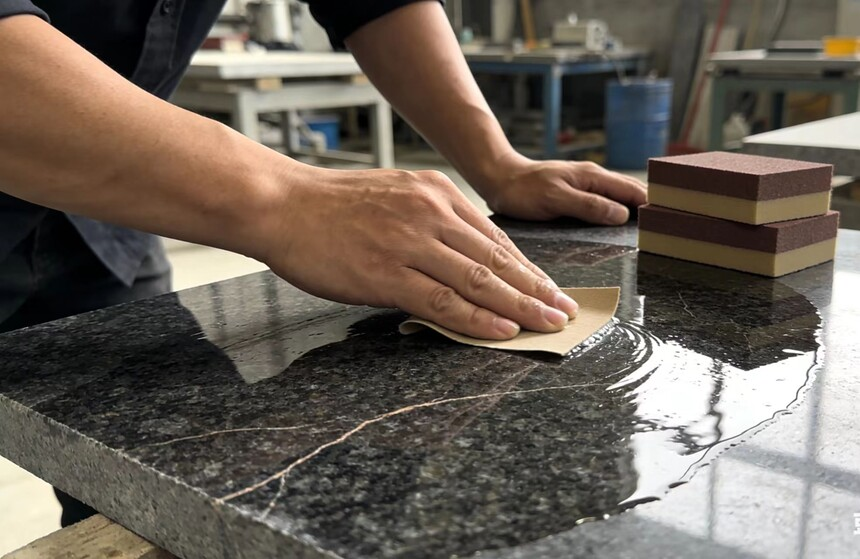
By combining mechanical processing with manual precision grinding, a machining accuracy of 0.5 microns can be achieved. The surface roughness Ra value is as low as 0.32-0.63 μ m, and the contact points are evenly distributed, making it suitable for high-precision geometric parameter measurement.

