- Preparation Before Installation
- Prepare tools: level gauge, torque wrench, rubber mallet, cleaning cloth, anchor bolts, leveling pads, and anti-vibration pads.
- Check the installation site: Ensure the ground is flat, solid, and free of vibration sources; reserve enough space for operation and maintenance.
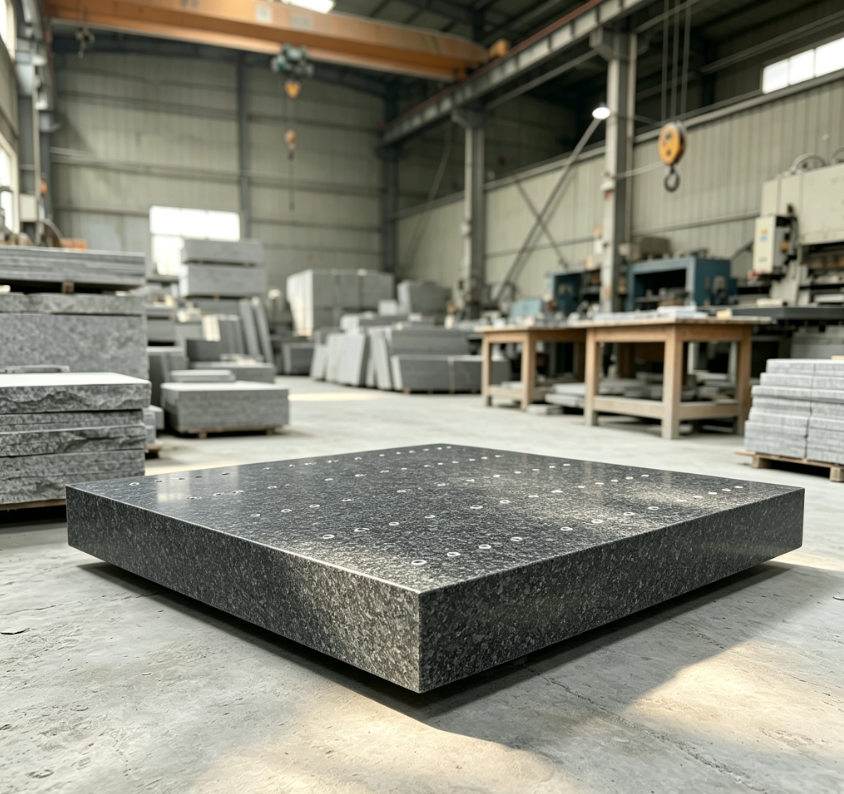
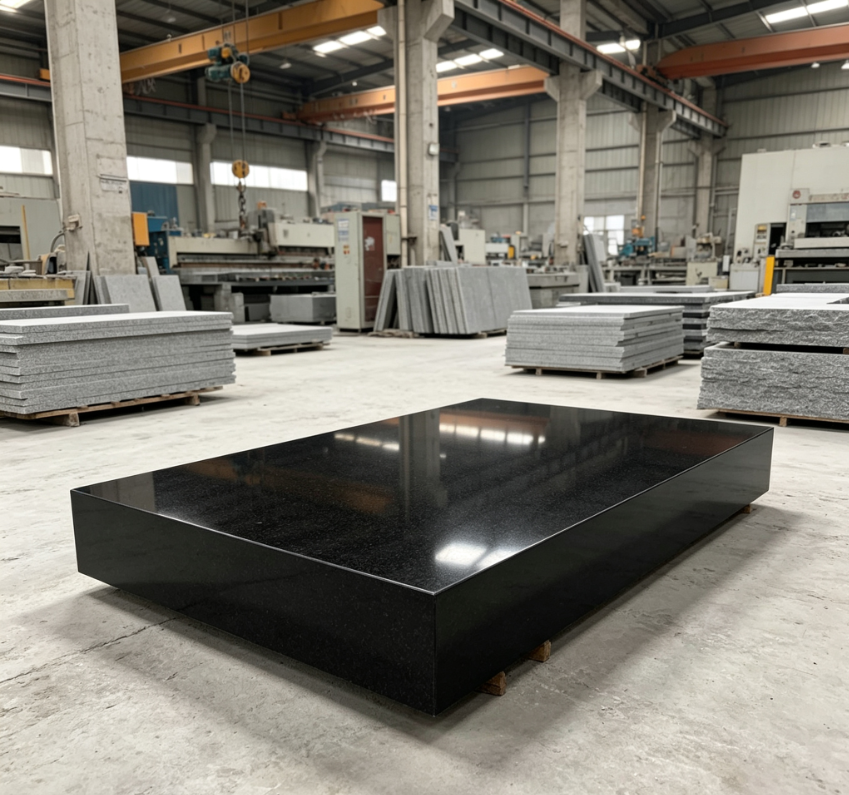
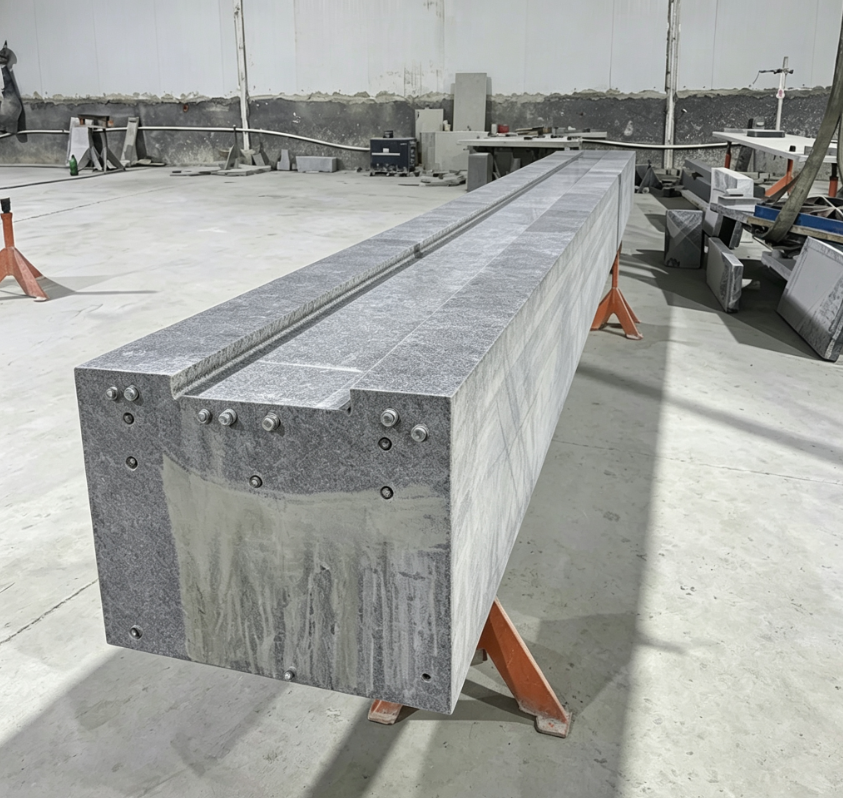
- Inspect the granite surface plate: Verify no cracks, chips, or surface damage; confirm the flatness meets standards.
- Clean the base and the contact surface of the granite plate to remove dust, oil, and debris.
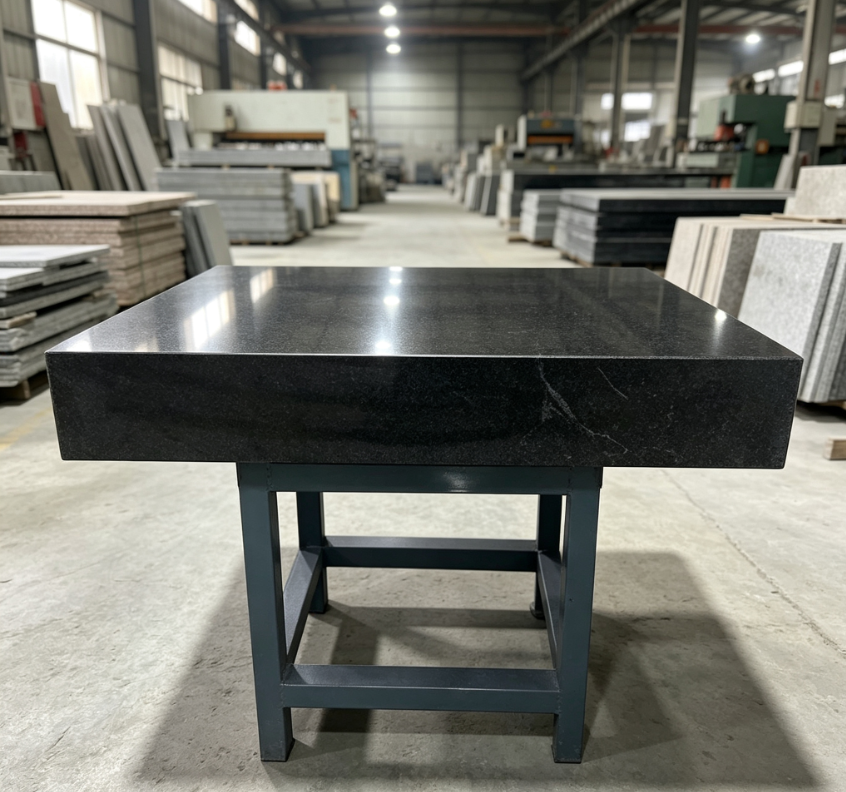
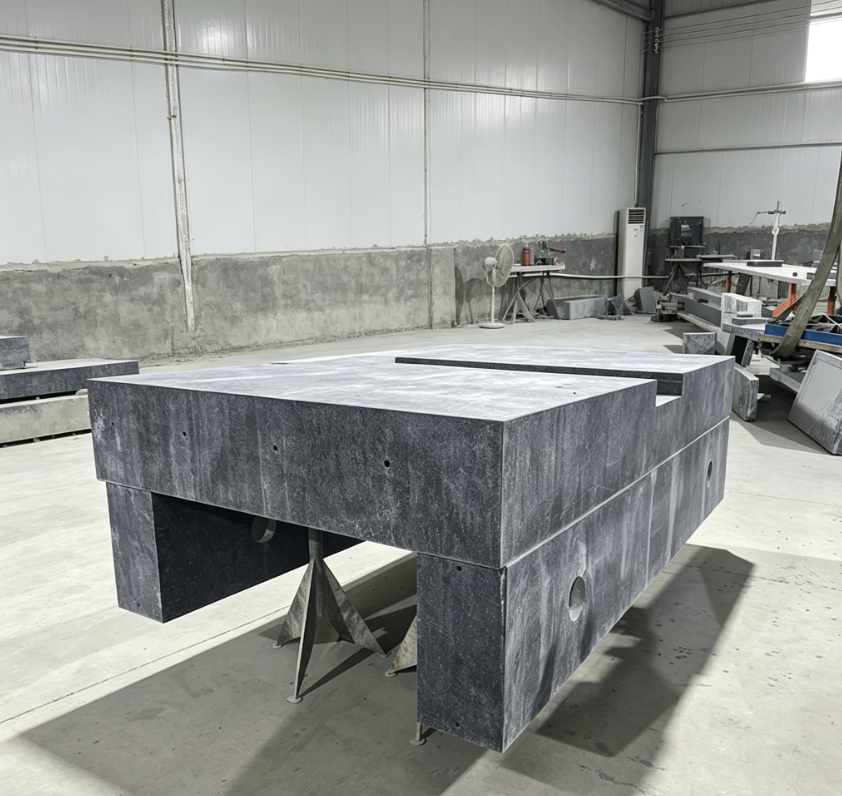
- Positioning and Fixing the Base Frame
- Place the base frame at the preset position; align it with the installation reference line.
- Install anchor bolts: Drill holes in the ground, insert expansion bolts, and fasten the base frame to the ground with a torque wrench to ensure stability.
- Place anti-vibration pads between the base frame and the ground to reduce external vibration interference.
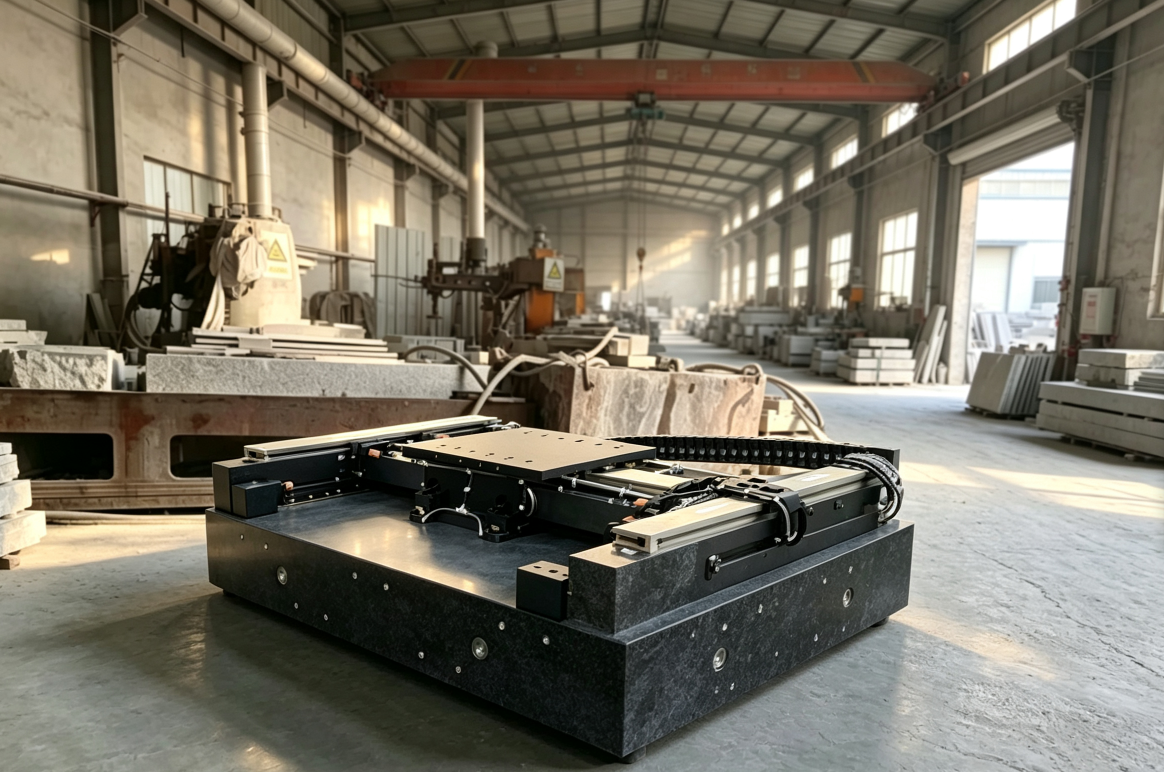
- Install Leveling Components
- Install leveling pads (adjustable feet) on the top of the base frame; ensure even distribution and firm installation.
- Place a precision level gauge on the base frame to preliminarily adjust the height of each leveling pad, making the base frame roughly horizontal.
- Place the Granite Surface Plate
- Use lifting equipment (crane or vacuum lifter) to hoist the granite plate slowly and stably; avoid collision or impact.
- Place the granite plate on the leveling pads of the base frame; ensure the plate is centered and fully contacts all pads.
- Precision Leveling
- Place a high-precision level gauge (0.01mm/m) on the granite plate in multiple directions (longitudinal, transverse, diagonal).
- Adjust the leveling pads one by one with a wrench: Rotate clockwise to raise, counterclockwise to lower, until the plate’s flatness error is within the allowable range (usually ≤0.005mm/m).
- Tap the edge of the granite plate gently with a rubber mallet during adjustment to eliminate contact gaps.
- Fixation and Final Inspection
- After leveling, lock the nuts of the leveling pads to prevent loosening.
- Recheck the flatness with the level gauge; confirm no deviation after locking.
- Clean the surface of the granite plate again; remove installation debris.
- Check the overall stability of the base: Shake the plate slightly to ensure no looseness or abnormal movement.
- Post-installation Protection
- Cover the granite plate with a protective film or dust cover to prevent scratches and dust accumulation.
- Place a warning sign around the installation area to prohibit heavy impact and unauthorized movement.